Pattern guide
How to Tile an Image into a Print-Ready Pattern Layout
Tile one image into a print-ready layout with accurate units, count, gaps, margins, flips, crop behavior, backgrounds, and export checks.
By RobinMaker Editorial · Published 2026-08-21 · Updated 2026-08-21 · 6 minute read
Tiling means placing copies of one image across a larger canvas. A print-ready tile layout goes further: it defines physical size, edge behavior, quantity, spacing, background, and the exact rectangle the printer receives.
This workflow is useful for wrapping paper panels, favor packaging, sticker sheets, fabric mockups, scrapbook pages, event backdrops, and other repeated graphics.
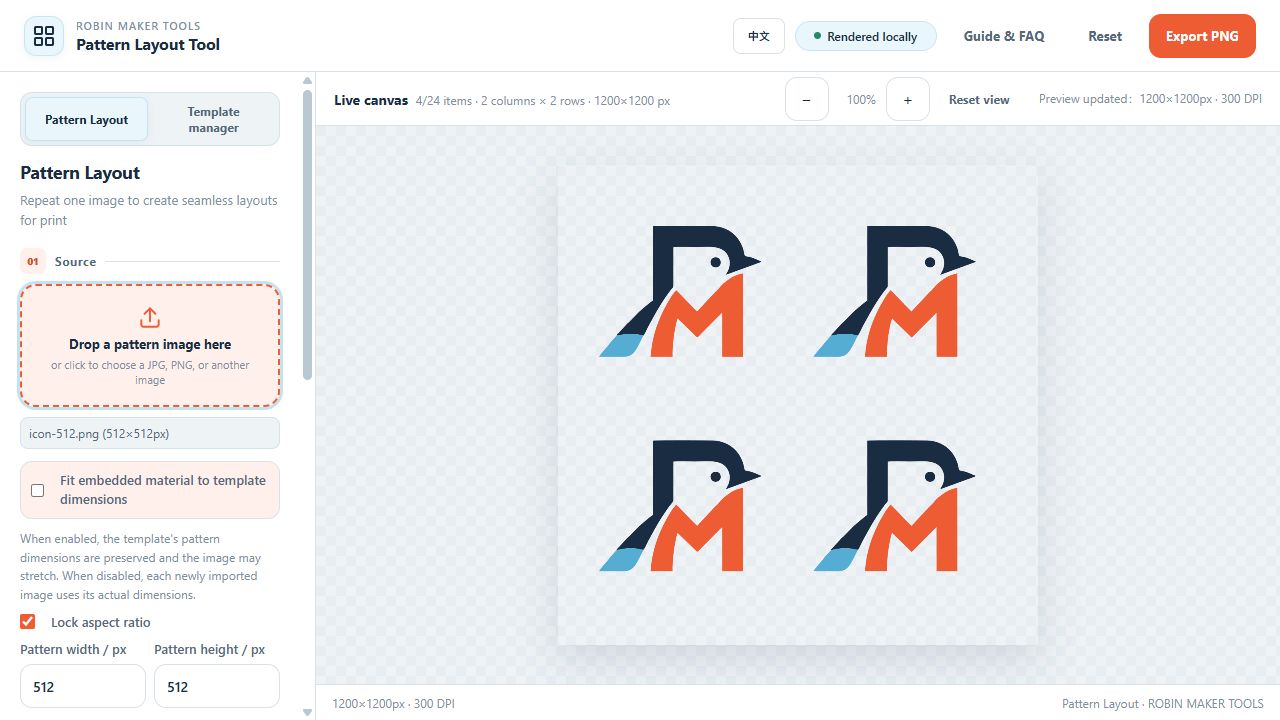
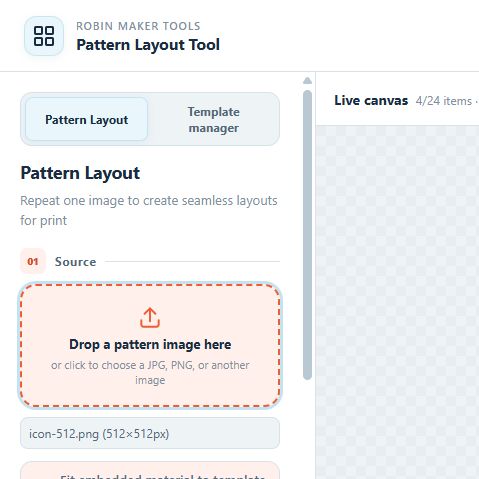
Tile an image in Pattern Layout
Match the tile to its production use
For a sticker sheet, the motif needs cutting space and consistent outer margins. For wrapping paper, rhythm and edge continuity may matter more than exact count. For favors, start from the dieline or flat panel dimensions and keep critical artwork away from folds.
Choose fixed canvas for a known sheet or panel. Choose infinite vertical only when the workflow truly needs a calculated long strip and the receiving process can handle the resulting dimensions.
- Use millimeters for dielines, sheets, and physical panels.
- Use pixels for digital print services with exact raster requirements.
- Keep source aspect ratio locked unless distortion is intentional.
Control count, gaps, margins, and alternation
Total count determines how many motifs the layout attempts to place. Horizontal and vertical gaps define the internal rhythm; left-right and top-bottom margins define the relationship to the canvas edge. Adjust these together rather than treating count as the only goal.
Flip modes introduce variation without creating a new source asset. Alternating columns or rows creates directional rhythm, while checkerboard flipping can reduce obvious repetition in asymmetrical motifs.
- Set the final canvas size and orientation.
- Choose motif dimensions at actual print scale.
- Adjust gaps until the negative space feels deliberate.
- Set margins and inspect partial motifs along every edge.
- Apply flip variation only after the grid is stable.
Export a production-safe raster
Select transparent, solid, gradient, or image background based on the downstream process. A transparent PNG is useful when another application supplies the final substrate color. A background image can be blended, but confirm its crop and opacity across the entire repeated area.
After export, verify exact dimensions and view the full file plus a 100% crop. Check for unintended stretching, clipped motifs, transparent halos, seams, and color combinations that lose contrast. Then print a section at actual size.
Work through a realistic production example
A useful tile image for print workflow should begin with a real deliverable, not an isolated settings panel. Consider a 1200-pixel product insert containing a fixed number of logo tiles with controlled gaps and margins. This example gives every decision a reason: the canvas has a destination, the details have a minimum useful size, and the exported file has to survive a real production step. It is especially relevant for people turning one image into a measured finished sheet rather than an abstract endless pattern. Before opening the tool, write down who will use the result, where it will appear, and whether the file will be printed at home, sent to a production service, or placed inside another design. Those answers prevent attractive experiments from quietly becoming unusable output.
Translate the brief into measurable constraints. For this project, pay attention to finished canvas, tile size, aspect lock, count, row and column rhythm, gaps, margins, and crop behavior. Record those values before styling and keep them beside the browser while you work. If a printer, plotter, frame, invitation template, or packaging dieline is involved, use its final dimensions rather than estimating from the on-screen preview. The preview is a composition aid; it is not a ruler. When two requirements conflict, protect the final physical use first. A slightly simpler design that prints clearly is more successful than a detailed design whose text, paths, or motifs disappear at production size.
Create one controlled first version. Keep the default composition where it is sensible, change only the values required by the brief, and export a proof before exploring decorative variations. This produces a reference file that can answer practical questions later. The most common mistake is using a visually pleasing zoomed preview without confirming how many complete tiles fit inside the exported canvas. Avoid it by applying one clear rule: define the finished sheet numerically and let the preview verify—not replace—those measurements. Once the reference version works, duplicate the settings or save a browser-local template, then explore color, typography, spacing, or background alternatives without losing the proven baseline.
- Write down the finished size, destination, production method, and required file format.
- Confirm finished canvas, tile size, aspect lock, count, row and column rhythm, gaps, margins, and crop behavior before changing decorative settings.
- Build a restrained reference version with the fewest necessary changes.
- Export an early proof and inspect it outside the editor at the intended size.
- Check the exact tile count, partial edge tiles, transparent areas, motif distortion, output dimensions, and one actual-size sample.
- Save the verified settings before creating visual alternatives.
Run a final SEO-friendly quality check
The final check should prove both the file and the explanation around it. First inspect the exact tile count, partial edge tiles, transparent areas, motif distortion, output dimensions, and one actual-size sample. Open the exported result in a separate viewer, because an editor can hide clipping, scaling, transparency, or color problems with its own preview behavior. View the whole composition, then inspect a crop at actual output size. If the file is intended for print, make a small test on the closest available paper or ask the production service for a soft proof. If it is intended for a plotter, test a reduced path sample before committing time and material to the complete drawing.
Next verify that another person could reproduce the result from your notes. Record the important settings, the source dimensions, the exported dimensions, and any production assumptions. Use descriptive filenames rather than replacing the only working export. Keep the original source file separate from the generated output, and do not place uploaded images or temporary browser URLs inside saved templates. RobinMaker processes creative files locally in the browser, but your own project organization still determines whether a result can be revised safely several weeks later.
Finally, review the result from the user's point of view rather than the editor's. Can the important information be understood immediately? Does the composition still work when printed, framed, folded, cut, or drawn? Are labels and instructions honest about approximations? Search-focused articles are strongest when the workflow produces evidence, so keep one screenshot of the settings and one screenshot of the finished preview. Those images make the process easier to follow and show that the recommendations come from the actual tool rather than generic design advice.
- The exported dimensions and aspect ratio match the production brief.
- Important text, lines, and motifs remain readable at final physical size.
- No unintended clipping, transparent gaps, stray paths, or edge artifacts remain.
- The file opens correctly in a second viewer and retains the expected background.
- The working settings and production assumptions are recorded for revision.
- The result follows the rule: define the finished sheet numerically and let the preview verify—not replace—those measurements.
Frequently asked questions
How many tiles should I use?
Choose motif size and gaps from readability and production needs first; let the resulting count follow from the canvas.
Can the tool create seamless fabric repeats?
It creates repeated layouts, but true seamless continuity across tile boundaries depends on the source motif and edge arrangement. Test all joins for textile production.
Why are motifs cut off at the edge?
Fixed canvas intentionally crops items beyond its rectangle. Adjust margins, gaps, count, motif size, or canvas dimensions.