Plotter guide
How to Convert a PNG Image to a PLT File for a Pen Plotter
Convert a PNG into clean PLT contour paths in your browser by controlling threshold, blur, smoothing, separation, noise, inversion, and physical width.
By RobinMaker Editorial · Published 2026-08-21 · Updated 2026-08-21 · 6 minute read
A PNG stores colored pixels; a PLT file describes drawing commands and paths. Conversion therefore requires interpretation: the tool must decide which pixel regions become boundaries and how much detail should survive as plotter movement.
Start with a bold source image, watch both the black-and-white preview and red path preview, and optimize for the physical pen and paper rather than for screen detail alone.
Open the Image to PLT Converter
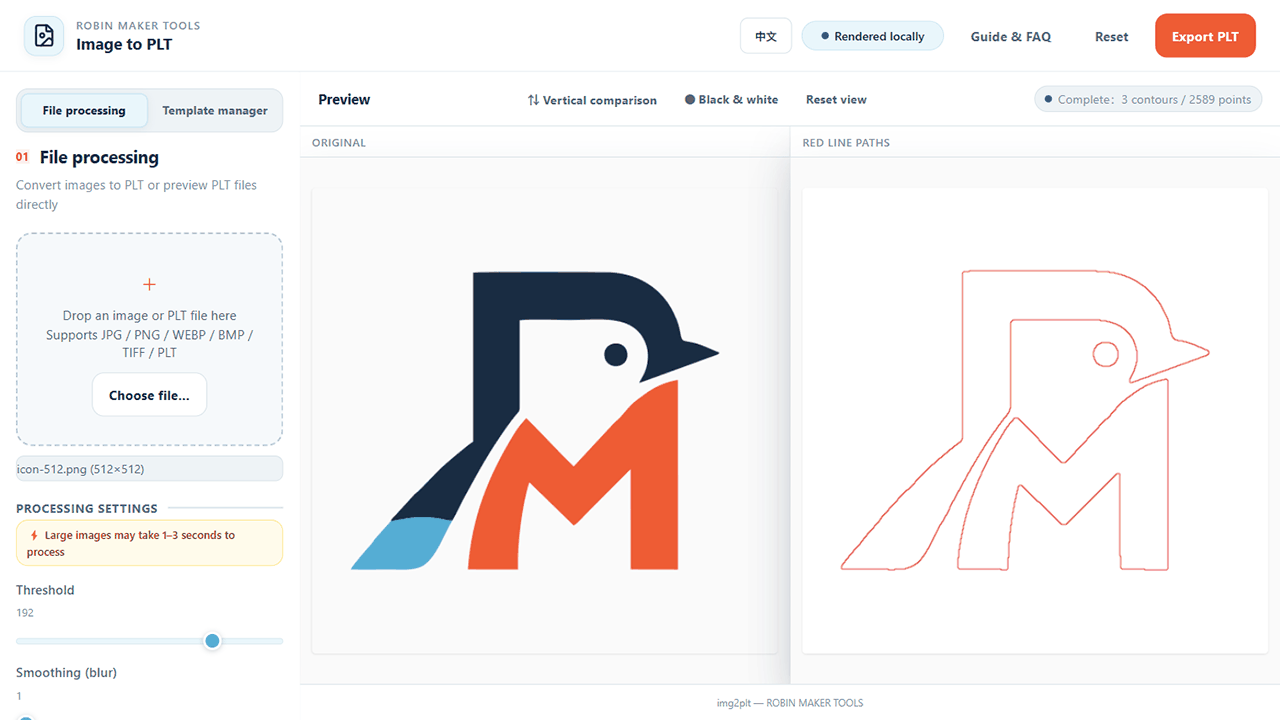
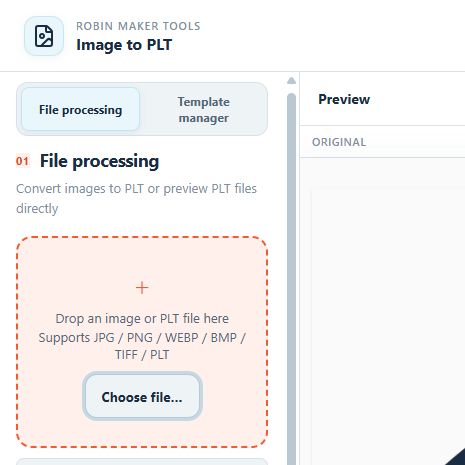
Prepare and load the PNG
Use a clear subject with strong separation from the background. Logos, icons, line art, silhouettes, and simplified illustrations usually convert more predictably than photographs with texture, shadows, or compression noise.
- Upload the PNG and wait for the first contour preview.
- Use the black-and-white view to judge threshold separation.
- Use the red-path view to inspect the paths the plotter will follow.
- Set the intended physical width in millimeters before the final export.
Balance threshold, smoothing, and noise
Threshold decides which tones become black or white. Blur reduces tiny local variation before tracing. Curve smoothing reduces angular path detail, while separation can pull nearby regions apart. Noise filtering removes small isolated shapes that would otherwise produce short, distracting pen movements.
Change one control at a time and wait for the live preview. The goal is not the highest path count. It is the smallest set of paths that still communicates the subject at the chosen physical size.
- Enable Invert when the meaningful subject and background are reversed.
- Increase blur or noise filtering for speckled scans and compressed images.
- Reduce smoothing if essential corners or letterforms become rounded away.
Export and test the PLT
Export the PLT only after the path preview looks intentional. Open the exported file in the receiving plotter software or reload it into RobinMaker for a visual check. Confirm that physical width, orientation, origin, and pen-up travel match the machine workflow.
Run a small test on inexpensive paper. Different pens, nib widths, drawing speeds, and paper surfaces can make adjacent paths merge or leave visible gaps.
Work through a realistic production example
A useful convert PNG to PLT workflow should begin with a real deliverable, not an isolated settings panel. Consider a square logo that should become a small number of closed paths without speckles or duplicated edges. This example gives every decision a reason: the canvas has a destination, the details have a minimum useful size, and the exported file has to survive a real production step. It is especially relevant for pen-plotter users converting a logo, line drawing, icon, scan, or high-contrast image into drawing paths. Before opening the tool, write down who will use the result, where it will appear, and whether the file will be printed at home, sent to a production service, or placed inside another design. Those answers prevent attractive experiments from quietly becoming unusable output.
Translate the brief into measurable constraints. For this project, pay attention to threshold, blur, curve smoothing, path separation, noise removal, inversion, and physical width. Record those values before styling and keep them beside the browser while you work. If a printer, plotter, frame, invitation template, or packaging dieline is involved, use its final dimensions rather than estimating from the on-screen preview. The preview is a composition aid; it is not a ruler. When two requirements conflict, protect the final physical use first. A slightly simpler design that prints clearly is more successful than a detailed design whose text, paths, or motifs disappear at production size.
Create one controlled first version. Keep the default composition where it is sensible, change only the values required by the brief, and export a proof before exploring decorative variations. This produces a reference file that can answer practical questions later. The most common mistake is trying to preserve every raster detail even though a pen can only draw paths with a real physical width. Avoid it by applying one clear rule: keep the fewest paths that still communicate the source image at the intended drawing size. Once the reference version works, duplicate the settings or save a browser-local template, then explore color, typography, spacing, or background alternatives without losing the proven baseline.
- Write down the finished size, destination, production method, and required file format.
- Confirm threshold, blur, curve smoothing, path separation, noise removal, inversion, and physical width before changing decorative settings.
- Build a restrained reference version with the fewest necessary changes.
- Export an early proof and inspect it outside the editor at the intended size.
- Check contour count, stray paths, open shapes, physical detail, plotting order, and a small real-machine test.
- Save the verified settings before creating visual alternatives.
Run a final SEO-friendly quality check
The final check should prove both the file and the explanation around it. First inspect contour count, stray paths, open shapes, physical detail, plotting order, and a small real-machine test. Open the exported result in a separate viewer, because an editor can hide clipping, scaling, transparency, or color problems with its own preview behavior. View the whole composition, then inspect a crop at actual output size. If the file is intended for print, make a small test on the closest available paper or ask the production service for a soft proof. If it is intended for a plotter, test a reduced path sample before committing time and material to the complete drawing.
Next verify that another person could reproduce the result from your notes. Record the important settings, the source dimensions, the exported dimensions, and any production assumptions. Use descriptive filenames rather than replacing the only working export. Keep the original source file separate from the generated output, and do not place uploaded images or temporary browser URLs inside saved templates. RobinMaker processes creative files locally in the browser, but your own project organization still determines whether a result can be revised safely several weeks later.
Finally, review the result from the user's point of view rather than the editor's. Can the important information be understood immediately? Does the composition still work when printed, framed, folded, cut, or drawn? Are labels and instructions honest about approximations? Search-focused articles are strongest when the workflow produces evidence, so keep one screenshot of the settings and one screenshot of the finished preview. Those images make the process easier to follow and show that the recommendations come from the actual tool rather than generic design advice.
- The exported dimensions and aspect ratio match the production brief.
- Important text, lines, and motifs remain readable at final physical size.
- No unintended clipping, transparent gaps, stray paths, or edge artifacts remain.
- The file opens correctly in a second viewer and retains the expected background.
- The working settings and production assumptions are recorded for revision.
- The result follows the rule: keep the fewest paths that still communicate the source image at the intended drawing size.
Frequently asked questions
Can every PNG become a clean PLT file?
No. Complex photographs may create excessive contours. Simplify or preprocess the image for stronger shapes and fewer tones.
Why are there too many tiny paths?
Texture, compression artifacts, and low-contrast noise are being traced. Increase blur or noise filtering and adjust threshold.
Does the tool upload my PNG?
No. Image analysis and PLT generation happen in your local browser.