Map guide
How to Create a Printable Wedding Map
Design a printable wedding map with a clear venue focus, custom map colors, useful labels, and a high-resolution PNG export.
By RobinMaker Editorial · Published 2026-08-21 · Updated 2026-08-21 · 6 minute read
A wedding map can do two jobs: help guests understand the location and become a visual keepsake. The strongest version simplifies the map around the venue instead of trying to reproduce every road and label in the surrounding city.
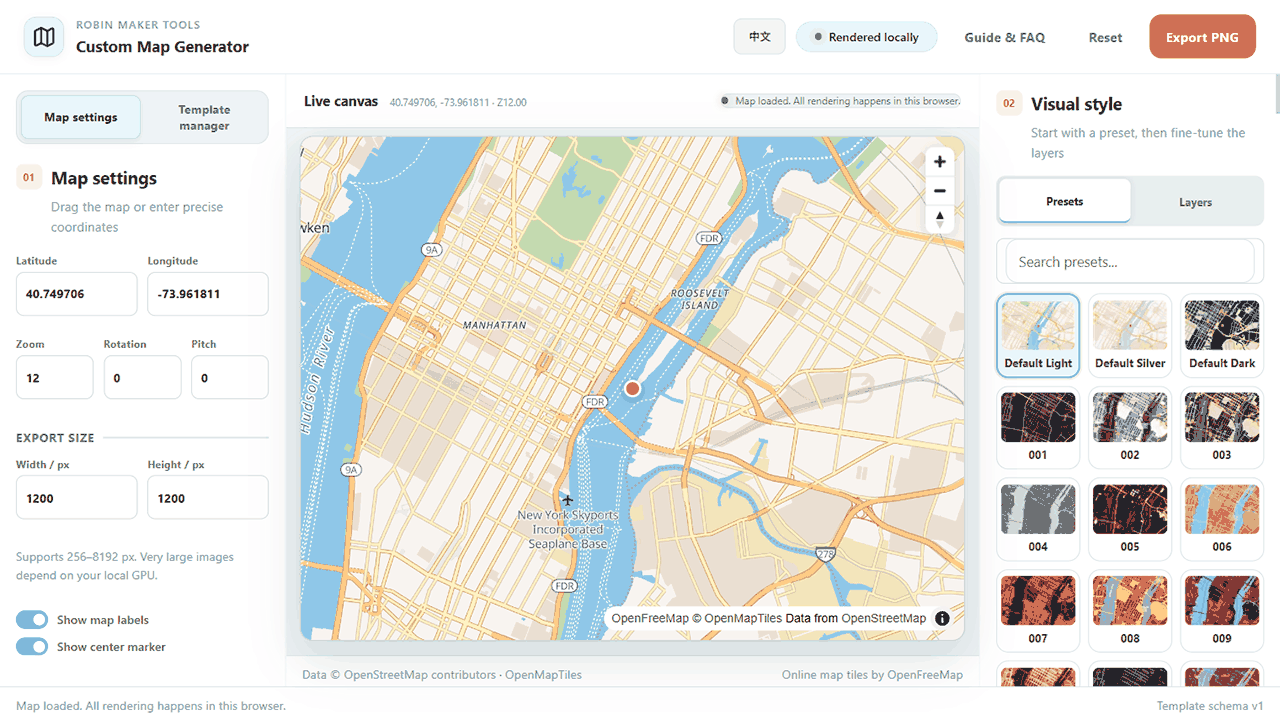
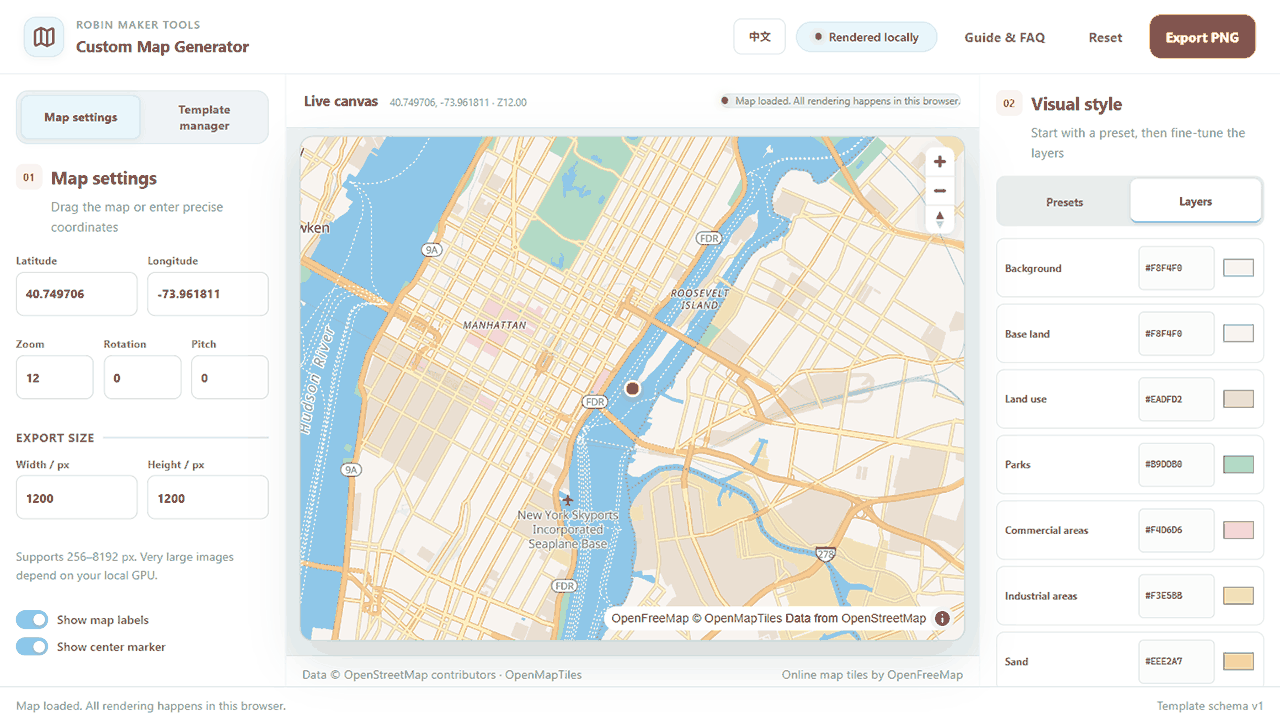
RobinMaker Custom Map lets you frame the place, choose a preset, fine-tune layer colors, show or hide labels, and export a large PNG in the browser.
Define the map's purpose and center
Decide whether the map is primarily directional or decorative. A directions insert needs recognizable roads and place labels. A welcome sign can crop more tightly and use a calmer, art-led palette.
- Enter the venue latitude and longitude or drag the live map to the location.
- Adjust zoom until the venue and only the useful surrounding context are visible.
- Use rotation and pitch sparingly; a flat north-up map is easiest for directions.
- Turn on the center marker if it clearly identifies the venue.
Create a wedding stationery palette
Begin with the preset closest to the invitation suite, then edit individual layers. Keep land and water quiet, reserve the darkest value for important roads or labels, and make the marker the most obvious accent when directions matter.
Check the design in grayscale or on a basic office printer. Subtle colors that separate on a bright display may merge on uncoated paper.
- Limit the palette to the invitation's main neutral, one supporting tone, and one accent.
- Remove labels that compete with the venue or couple's typography added later in layout software.
- Keep attribution visible in the exported map as required by the map data providers.
Export and place the map in the final design
Set the output to the same aspect ratio as the intended invitation panel, sign, or insert. Export a larger PNG than the on-screen preview, then place it without stretching. If you add names, a date, or travel instructions elsewhere, preserve enough quiet space in the map composition.
Print a proof at actual size. Confirm that roads remain distinct, labels are legible, and the venue does not sit too close to a trim edge.
Work through a realistic production example
A useful printable wedding map workflow should begin with a real deliverable, not an isolated settings panel. Consider a map connecting the ceremony venue, reception, nearby landmark, and the main approach road without becoming a navigation app screenshot. This example gives every decision a reason: the canvas has a destination, the details have a minimum useful size, and the exported file has to survive a real production step. It is especially relevant for couples and stationery designers creating a location map for an invitation, welcome card, sign, or information sheet. Before opening the tool, write down who will use the result, where it will appear, and whether the file will be printed at home, sent to a production service, or placed inside another design. Those answers prevent attractive experiments from quietly becoming unusable output.
Translate the brief into measurable constraints. For this project, pay attention to venue position, useful map extent, invitation proportion, label hierarchy, line weight, and wedding palette. Record those values before styling and keep them beside the browser while you work. If a printer, plotter, frame, invitation template, or packaging dieline is involved, use its final dimensions rather than estimating from the on-screen preview. The preview is a composition aid; it is not a ruler. When two requirements conflict, protect the final physical use first. A slightly simpler design that prints clearly is more successful than a detailed design whose text, paths, or motifs disappear at production size.
Create one controlled first version. Keep the default composition where it is sensible, change only the values required by the brief, and export a proof before exploring decorative variations. This produces a reference file that can answer practical questions later. The most common mistake is showing too much surrounding geography and making the meaningful venue compete with ordinary map detail. Avoid it by applying one clear rule: include only the geography that helps a guest understand the place and the visual story. Once the reference version works, duplicate the settings or save a browser-local template, then explore color, typography, spacing, or background alternatives without losing the proven baseline.
- Write down the finished size, destination, production method, and required file format.
- Confirm venue position, useful map extent, invitation proportion, label hierarchy, line weight, and wedding palette before changing decorative settings.
- Build a restrained reference version with the fewest necessary changes.
- Export an early proof and inspect it outside the editor at the intended size.
- Check venue prominence, readable landmarks, unnecessary street detail, color contrast, and placement inside the final stationery layout.
- Save the verified settings before creating visual alternatives.
Run a final SEO-friendly quality check
The final check should prove both the file and the explanation around it. First inspect venue prominence, readable landmarks, unnecessary street detail, color contrast, and placement inside the final stationery layout. Open the exported result in a separate viewer, because an editor can hide clipping, scaling, transparency, or color problems with its own preview behavior. View the whole composition, then inspect a crop at actual output size. If the file is intended for print, make a small test on the closest available paper or ask the production service for a soft proof. If it is intended for a plotter, test a reduced path sample before committing time and material to the complete drawing.
Next verify that another person could reproduce the result from your notes. Record the important settings, the source dimensions, the exported dimensions, and any production assumptions. Use descriptive filenames rather than replacing the only working export. Keep the original source file separate from the generated output, and do not place uploaded images or temporary browser URLs inside saved templates. RobinMaker processes creative files locally in the browser, but your own project organization still determines whether a result can be revised safely several weeks later.
Finally, review the result from the user's point of view rather than the editor's. Can the important information be understood immediately? Does the composition still work when printed, framed, folded, cut, or drawn? Are labels and instructions honest about approximations? Search-focused articles are strongest when the workflow produces evidence, so keep one screenshot of the settings and one screenshot of the finished preview. Those images make the process easier to follow and show that the recommendations come from the actual tool rather than generic design advice.
- The exported dimensions and aspect ratio match the production brief.
- Important text, lines, and motifs remain readable at final physical size.
- No unintended clipping, transparent gaps, stray paths, or edge artifacts remain.
- The file opens correctly in a second viewer and retains the expected background.
- The working settings and production assumptions are recorded for revision.
- The result follows the rule: include only the geography that helps a guest understand the place and the visual story.
Frequently asked questions
What zoom level is best for a wedding map?
Use the closest view that still shows the context guests need. Venue art can be tighter than a directions insert.
Can I match my wedding colors?
Yes. Start from a preset and edit land, water, road, boundary, and label colors individually.
Can guests use the print as their only navigation?
A decorative map may omit detail. Pair it with an address, transport notes, or a digital navigation link when accuracy is essential.