Map guide
How to Export a High-Resolution Custom Map for Print
Choose map dimensions, visual detail, labels, and export checks for a sharp high-resolution custom map PNG.
By RobinMaker Editorial · Published 2026-08-21 · Updated 2026-08-21 · 6 minute read
A print-ready map needs more than a large width and height. The geographic extent, label density, road hierarchy, contrast, and final viewing distance all affect whether the exported image remains clear on paper.
The Custom Map Generator can render output from 256 to 8192 pixels per side, subject to your browser and graphics hardware. Set the production goal first, then request only the detail the print can use.
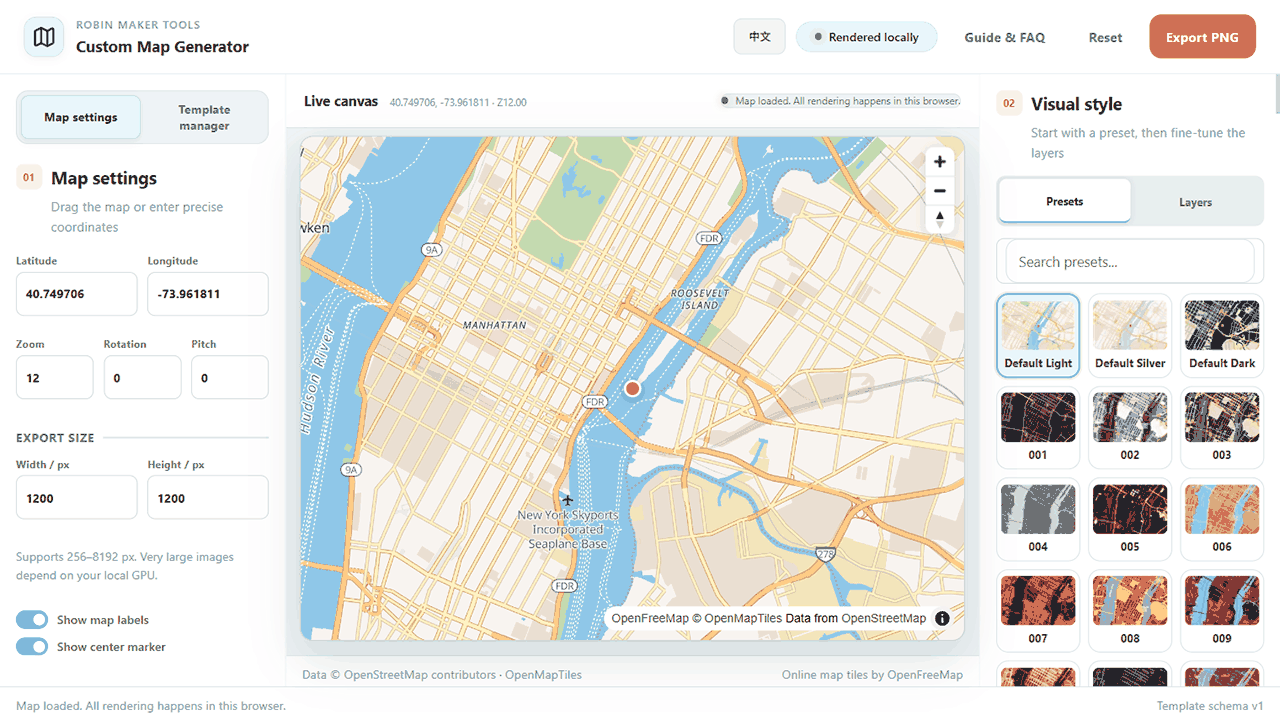
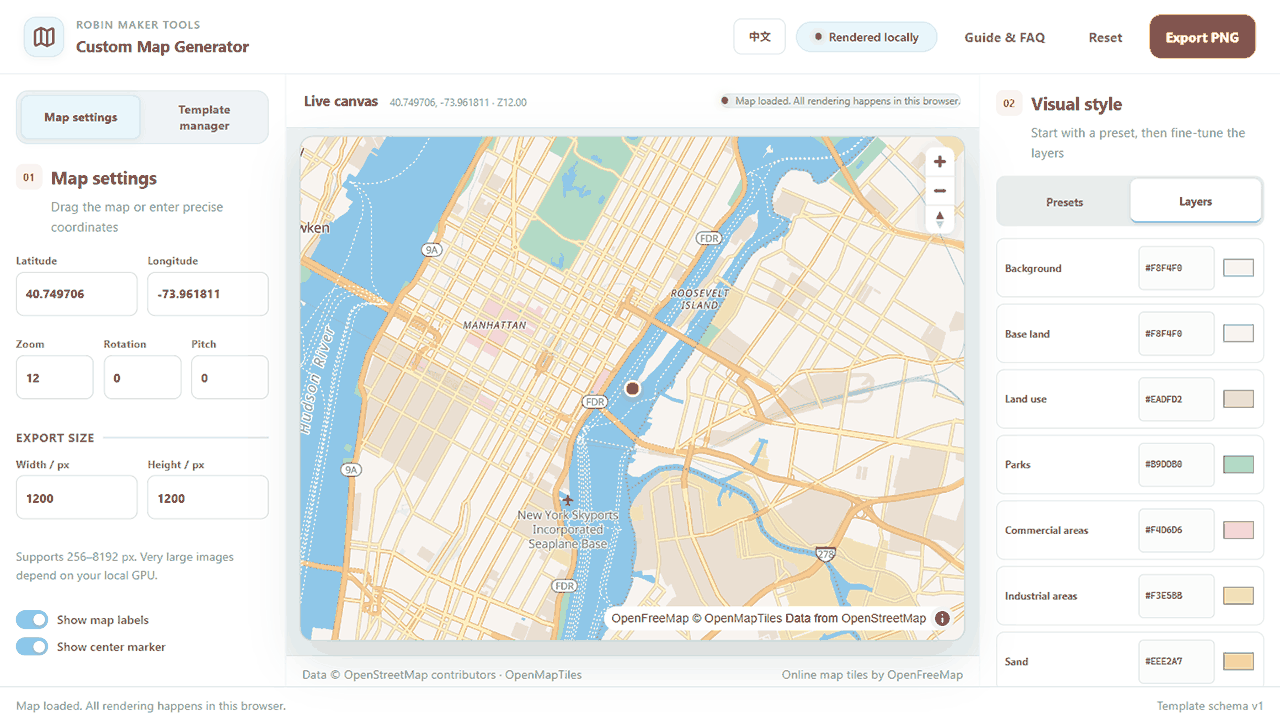
Calculate a useful pixel size
Multiply the intended print dimension in inches by the target pixels per inch. A 16 × 20 inch print at 300 PPI would be 4800 × 6000 pixels. A large wall piece viewed from farther away may work at a lower effective density, but confirm this with the printer.
Match the map canvas aspect ratio to the frame or paper. If you export a square and later crop it into a narrow poster, important roads and labels may disappear.
- Start from the final trim dimensions, not the preview window.
- Include bleed in the requested canvas only when the printer needs it.
- Stay within the tool's maximum dimensions and your local GPU capacity.
Tune detail for the final scale
Higher pixel dimensions do not automatically make a crowded map easier to read. Choose a zoom level that creates a clear road hierarchy. Hide unnecessary labels, increase contrast between major and minor roads, and avoid very pale boundaries that vanish in print.
If the map is decorative, test larger areas of calm land or water. If it is informational, retain recognizable routes and labels but keep the center of interest obvious.
Render, inspect, and proof
Large map exports load high-resolution map resources before composing the PNG. Keep the page open, allow the render to finish, and avoid changing controls while export is in progress. If the browser runs out of graphics memory, reduce one dimension or close other graphics-heavy tabs.
- Open the exported PNG and confirm its exact pixel dimensions.
- Inspect labels, thin roads, boundaries, and attribution at 100% zoom.
- Place it into the final layout without non-proportional scaling.
- Order or print a reduced-cost proof before the final large piece.
Work through a realistic production example
A useful high-resolution custom map workflow should begin with a real deliverable, not an isolated settings panel. Consider an A3 venue map that must keep primary roads, water, labels, and the event location readable after printing. This example gives every decision a reason: the canvas has a destination, the details have a minimum useful size, and the exported file has to survive a real production step. It is especially relevant for designers and event makers preparing a map for invitations, posters, signage, or framed prints. Before opening the tool, write down who will use the result, where it will appear, and whether the file will be printed at home, sent to a production service, or placed inside another design. Those answers prevent attractive experiments from quietly becoming unusable output.
Translate the brief into measurable constraints. For this project, pay attention to print dimensions, pixel dimensions, map extent, label size, and line weight. Record those values before styling and keep them beside the browser while you work. If a printer, plotter, frame, invitation template, or packaging dieline is involved, use its final dimensions rather than estimating from the on-screen preview. The preview is a composition aid; it is not a ruler. When two requirements conflict, protect the final physical use first. A slightly simpler design that prints clearly is more successful than a detailed design whose text, paths, or motifs disappear at production size.
Create one controlled first version. Keep the default composition where it is sensible, change only the values required by the brief, and export a proof before exploring decorative variations. This produces a reference file that can answer practical questions later. The most common mistake is raising pixel dimensions without adjusting the visual detail and line weights for the final print scale. Avoid it by applying one clear rule: calculate resolution from the finished print first, then simplify the map until it remains legible. Once the reference version works, duplicate the settings or save a browser-local template, then explore color, typography, spacing, or background alternatives without losing the proven baseline.
- Write down the finished size, destination, production method, and required file format.
- Confirm print dimensions, pixel dimensions, map extent, label size, and line weight before changing decorative settings.
- Build a restrained reference version with the fewest necessary changes.
- Export an early proof and inspect it outside the editor at the intended size.
- Check fine labels, road hierarchy, edge cropping, contrast, and memory use at the requested export size.
- Save the verified settings before creating visual alternatives.
Run a final SEO-friendly quality check
The final check should prove both the file and the explanation around it. First inspect fine labels, road hierarchy, edge cropping, contrast, and memory use at the requested export size. Open the exported result in a separate viewer, because an editor can hide clipping, scaling, transparency, or color problems with its own preview behavior. View the whole composition, then inspect a crop at actual output size. If the file is intended for print, make a small test on the closest available paper or ask the production service for a soft proof. If it is intended for a plotter, test a reduced path sample before committing time and material to the complete drawing.
Next verify that another person could reproduce the result from your notes. Record the important settings, the source dimensions, the exported dimensions, and any production assumptions. Use descriptive filenames rather than replacing the only working export. Keep the original source file separate from the generated output, and do not place uploaded images or temporary browser URLs inside saved templates. RobinMaker processes creative files locally in the browser, but your own project organization still determines whether a result can be revised safely several weeks later.
Finally, review the result from the user's point of view rather than the editor's. Can the important information be understood immediately? Does the composition still work when printed, framed, folded, cut, or drawn? Are labels and instructions honest about approximations? Search-focused articles are strongest when the workflow produces evidence, so keep one screenshot of the settings and one screenshot of the finished preview. Those images make the process easier to follow and show that the recommendations come from the actual tool rather than generic design advice.
- The exported dimensions and aspect ratio match the production brief.
- Important text, lines, and motifs remain readable at final physical size.
- No unintended clipping, transparent gaps, stray paths, or edge artifacts remain.
- The file opens correctly in a second viewer and retains the expected background.
- The working settings and production assumptions are recorded for revision.
- The result follows the rule: calculate resolution from the finished print first, then simplify the map until it remains legible.
Frequently asked questions
What is the largest map I can export?
The controls support up to 8192 pixels per side, but successful rendering also depends on your browser, GPU, and map resources.
Does a larger PNG always print better?
Only when the extra pixels match the intended print size and the map styling remains readable. Excess resolution cannot fix a crowded composition.
Why did my large export fail?
The browser may have reached graphics or memory limits, or a map resource may have failed. Try a smaller size and export again after the map finishes loading.